

Locken haben eine bezaubernde Ausstrahlung, die das Aussehen eines Menschen von gewöhnlich in außergewöhnlich verwandeln kann. Doch diese perfekten, lang anhaltenden Naturlocken zu erreichen, kann sich wie eine entmutigende Aufgabe anfühlen. Aber keine Angst! Mit den richtigen Techniken und ein paar praktischen Tipps können Sie die Kunst des Lockenschneidens mit einem Lockenstab meistern. Ganz gleich, ob Sie sich auf einen besonderen Anlass vorbereiten oder einfach nur Ihrem alltäglichen Styling mehr Struktur verleihen möchten - dieser Leitfaden hilft Ihnen dabei, wunderschöne Locken zu kreieren, die lange halten.
Schritt 1: Wählen Sie das richtige Werkzeug, um Locken zu kreieren
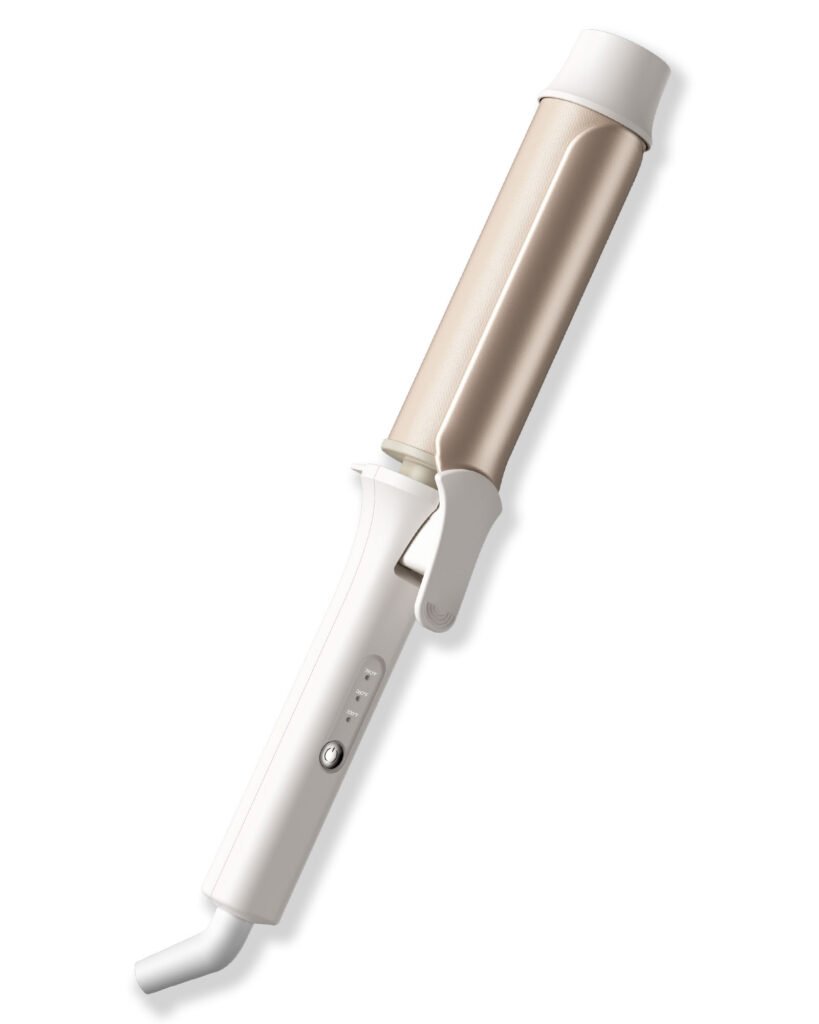
Die Wahl des richtigen Lockenstabs ist entscheidend, um den gewünschten Lockenstil zu erzielen. Hier sind ein paar Faktoren, die Sie beachten sollten:
- Größe des Fasses
Die Größe der Trommel bestimmt die Festigkeit Ihrer Locken. Für lockere Wellen sollten Sie sich für einen größeren Zylinder (38 mm/1,5 Zoll) entscheiden, während ein kleinerer Zylinder (0,75 Zoll) ideal für festere, voluminösere Locken ist.
- Material
Entscheiden Sie sich für Lockenstäbe aus Keramik oder Turmalin, da diese Materialien die Wärme gleichmäßig verteilen und das Kräuseln reduzieren. Außerdem helfen sie, Hitzeschäden zu vermeiden.
- Einstellbare Wärmeeinstellungen
Wählen Sie ein Glätteisen mit verschiedenen Temperatureinstellungen, um den unterschiedlichen Haartypen gerecht zu werden. Feines Haar erfordert in der Regel eine geringere Hitze (um die 300°F), während dickeres Haar möglicherweise höhere Temperaturen benötigt (bis zu 400°F oder mehr)
Lockenstäbe von Shenzhen Topbeauty Technology Co., Ltd. sowohl die Produktqualität als auch das Produktdesign sind in der Branche führend, kann ein vertrauenswürdiger Helfer des Haarstylings sein
Schritt 2: Bereiten Sie Ihr Haar vor
Vorbereitung ist der Schlüssel zu schönen Locken. Befolgen Sie diese Schritte:
Beginnen Sie mit sauberem, trockenem Haar : Die besten Ergebnisse erzielen Sie, wenn Sie Ihr Haar vorher waschen und vollständig trocknen. Schmutziges oder feuchtes Haar kann zu Locken führen, die nicht gut halten.
Hitzeschutzmittel verwenden : Verwenden Sie immer ein Hitzeschutzspray, um Ihre Strähnen vor möglichen Hitzeschäden zu schützen. Dies schafft eine Barriere und hilft Ihren Locken, länger zu halten.
Textur hinzufügen : Mit leichtem Schaumfestiger oder Volumenspray können Sie Ihrem Haar mehr Griffigkeit verleihen, so dass die Locken ihre Form besser halten können.
Schritt 3: Teilen Sie Ihr Haar
Um gleichmäßige Locken zu erhalten, ist es wichtig, in Abschnitten zu arbeiten. So geht's:
- Teilen Sie Ihr Haar: Verwenden Sie Clips, um Ihr Haar in mittelgroße Abschnitte zu unterteilen. Im Allgemeinen sind drei bis vier Abschnitte ideal - oben, in der Mitte und unten - um sicherzustellen, dass Sie alle Teile gleichmäßig locken.
- Einen Abschnitt nach dem anderen freigeben: Beginnen Sie mit dem untersten Abschnitt und arbeiten Sie sich dann allmählich nach oben vor. So können Sie sich auf jeden Abschnitt konzentrieren, ohne sich überfordert zu fühlen.
Schritt 4: Technik des Lockenwickelns
Die Verwendung des Lockenstabs mag einfach erscheinen, aber die richtige Technik macht den Unterschied:
- Das Bügeleisen erhitzen: Schalten Sie Ihren Lockenstab ein und lassen Sie ihn die gewünschte Temperatur für Ihren Haartyp erreichen.
- Wickeln Sie das Haar: Nehmen Sie eine Haarpartie (1-2 cm breit) und wickeln Sie sie um den Zylinder, wobei Sie die Enden mit Ihren Fingern festhalten. Achten Sie darauf, dass Sie vom Gesicht weg locken, um einen natürlicheren Look zu erzielen.
- An Ort und Stelle halten: Halten Sie die Locke je nach Haartyp etwa 8-12 Sekunden lang auf dem Glätteisen. Feines Haar braucht weniger Zeit, während dickeres Haar möglicherweise mehr Zeit benötigt.
- Sanftes Loslassen: Wickeln Sie das Haar nach der angegebenen Zeit vorsichtig aus dem Zylinder. Vermeiden Sie es, an der Locke zu ziehen, da dies ihre Form stören kann.
Schritt 5: Setzen Sie Ihre Locken
Nachdem Sie alle Partien gelockt haben, müssen Sie Ihre Locken unbedingt fixieren, damit sie halten:
- Nicht bürsten: Lassen Sie Ihre Locken vollständig abkühlen, bevor Sie sie anfassen. Das hilft, das Lockenmuster zu fixieren.
- Haarspray verwenden: Sprühen Sie ein Haarspray mit flexiblem Halt auf Ihre Locken, um sie in Form zu halten, ohne sie steif zu machen.
- Stil nach Wunsch: Trennen Sie die Locken sanft mit den Fingern, um einen natürlicheren Look zu erzielen. Wenn Sie eine engere Frisur bevorzugen, lassen Sie sie so wie sie ist.
Schlussfolgerung
Lang anhaltende, natürliche Locken mit einem Lockenstab zu zaubern, ist eine Fähigkeit, die Ihr gesamtes Aussehen verbessern und Ihr Selbstbewusstsein stärken kann. Durch die Auswahl der richtigen Werkzeuge von TopbeautyWenn Sie Ihr Haar vorbereiten, effektive Lockenwickeltechniken anwenden und Ihre Locken richtig fixieren, können Sie atemberaubende Ergebnisse erzielen. Mit ein wenig Übung sind Sie bald auf dem besten Weg, wunderschöne Locken zu zaubern, die tagelang halten. Lassen Sie sich auf den Prozess ein und haben Sie Spaß daran, mit verschiedenen Stilen zu experimentieren, und Sie werden im Handumdrehen bereit sein, diese Locken zu rocken!